WxCC Flow Designer Integration with CJDS 
Lab 3.1 Query JDS in an IVR flow for greeting customization.
Instructions
- Download the IVR flow JDS_LAB_Flow_PODXX. Open the json file using notepad++, find the name section and replace the XX within the name to match your POD number, example: "name":"JDS_LAB_Flow_POD91".
- Login to Webex Control Hub with your administrator account. Select the Contact Center option on the Services section in the left pane.
- Go to “Flows” and click the "Manage Flows" dropdown, select the option "Import Flows". Select the json file you downloaded and click the option "Import".
- Click on the "Go to Flow Designer" icon to the right of the date modified of the flow that was just imported.
- Once you are in the Flow Designer, click the "Edit" toggle to switch to Edit mode. The first thing we want to do is to create the following flow variables by clicking anywhere in the canvas, not on a specific node. Click the button “Add Flow Variable” and create the following variables:
- Name = firstName, Variable Type = String
- Name = lastName, Variable Type = String
- Name = CJDS_ProjectID, Variable Type = String, Default Value = <WorkspaceID> (From Lab 1.2, step 2)
Flow Variables GIF
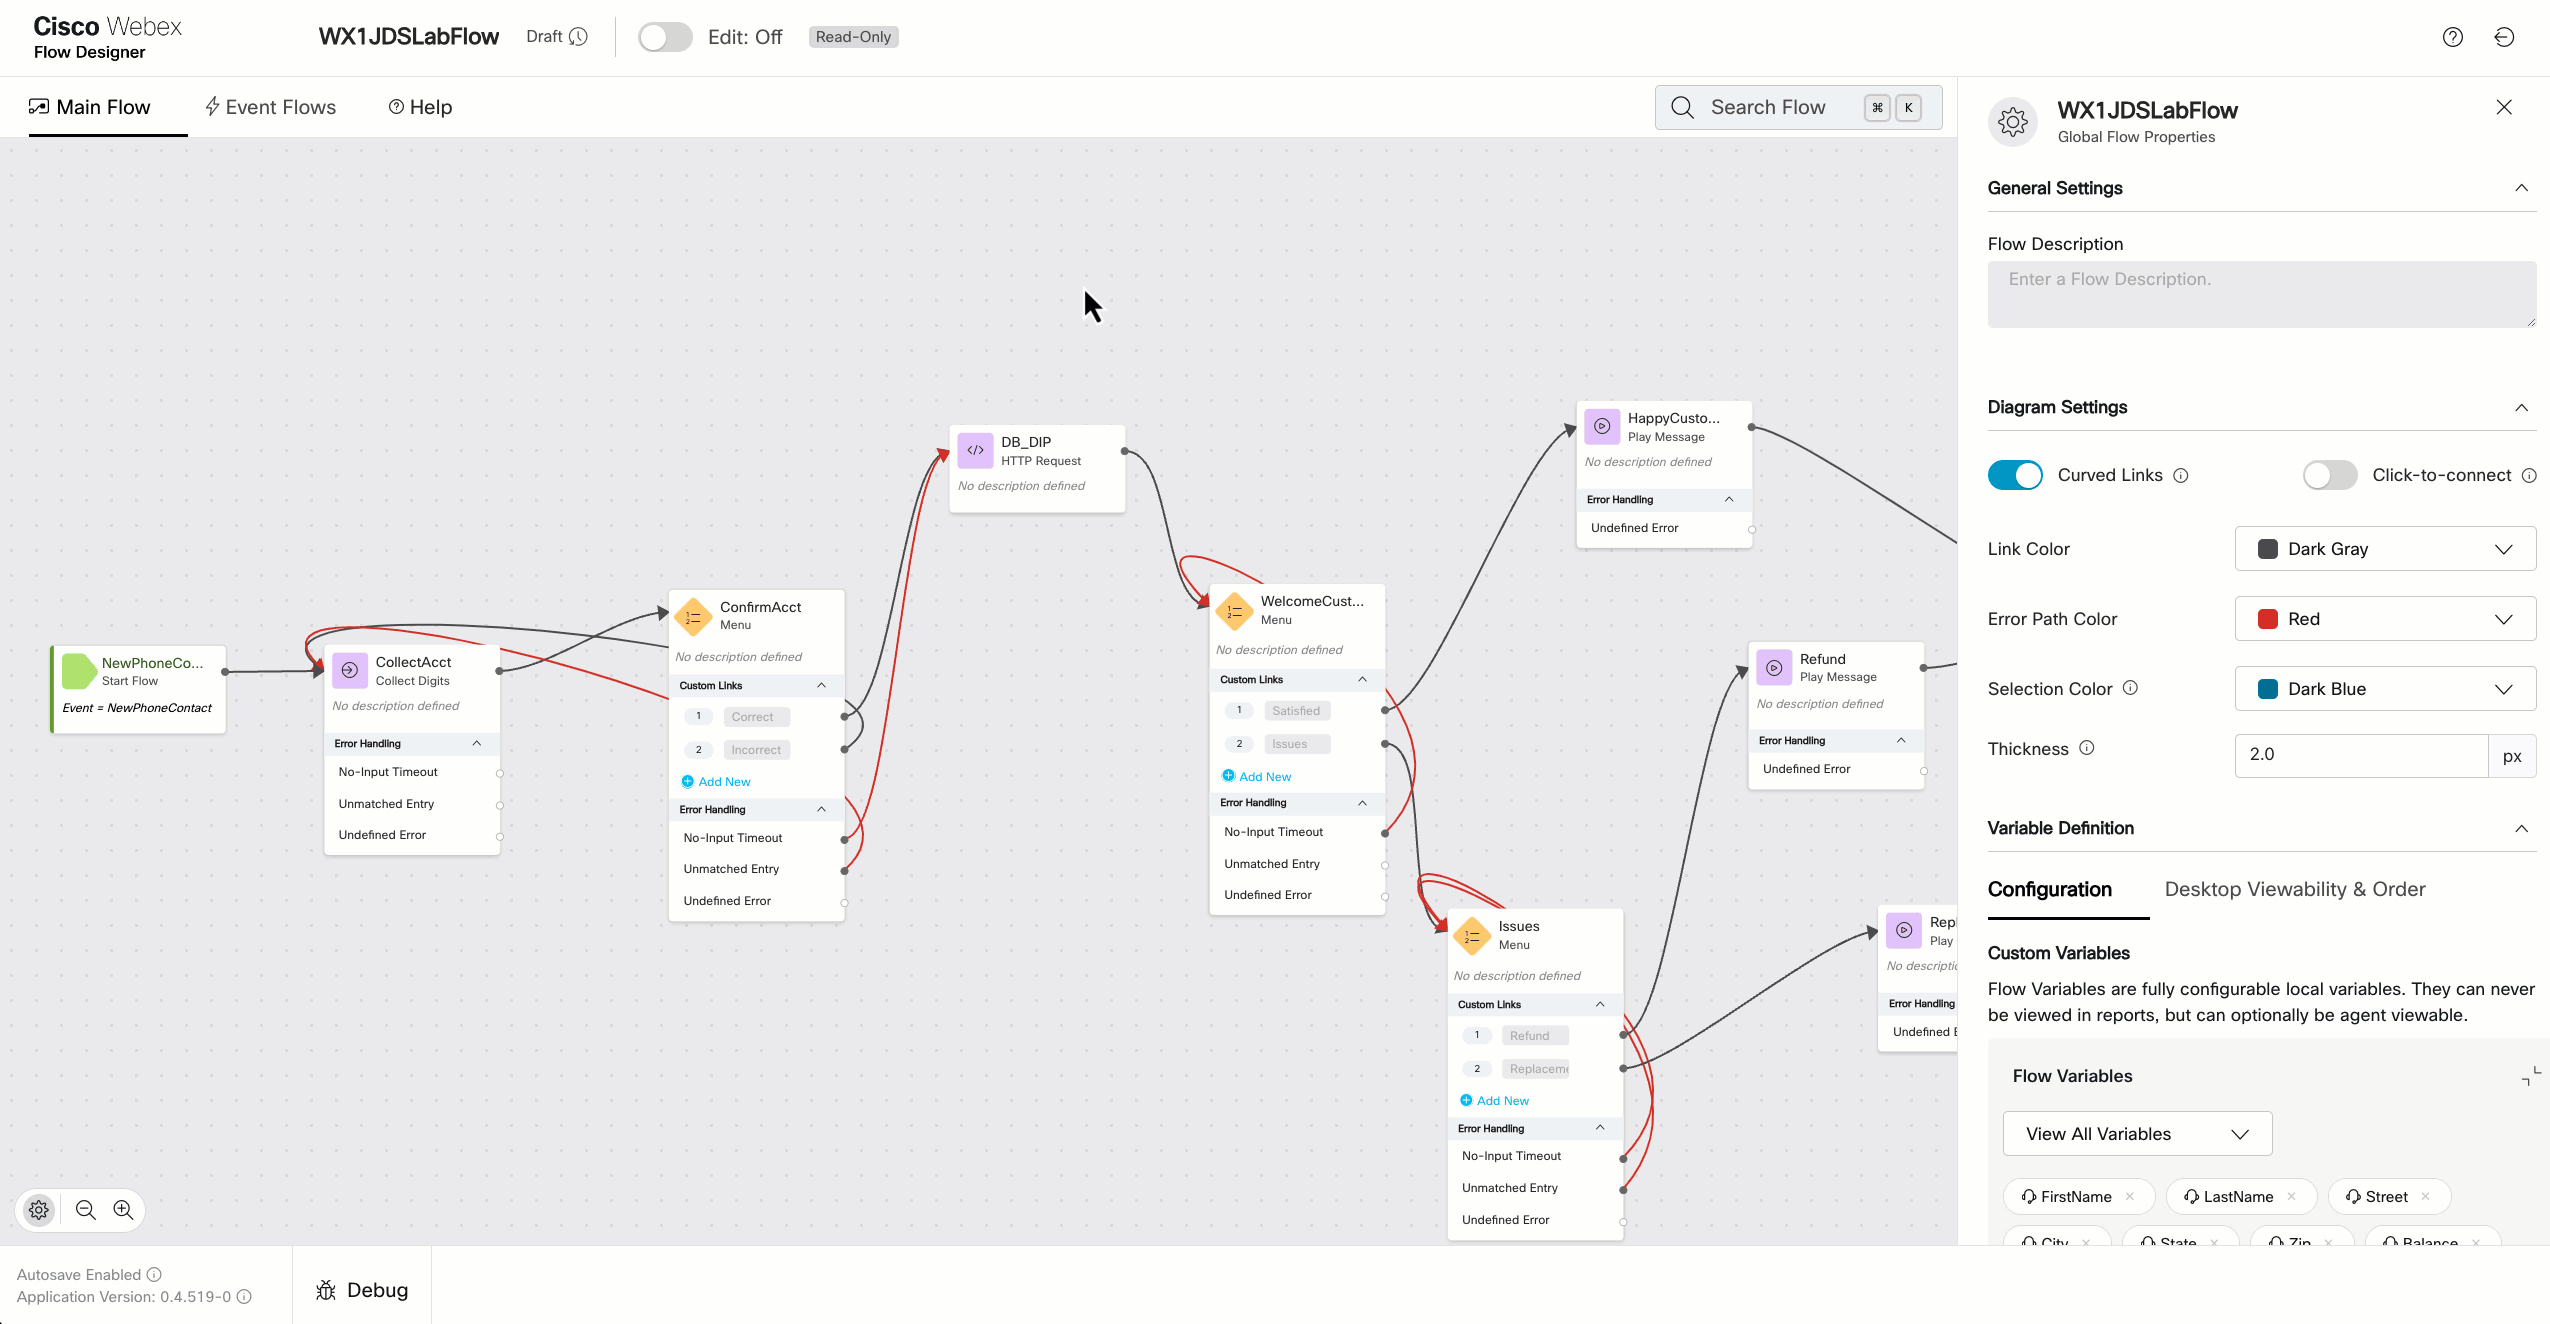
- Insert a new HTTP Request node AFTER the NewPhoneContact node. Make sure to connect the exit connection from the NewPhoneContact node to the incoming connection on this new node. This new node will be used to send a query to the JDS service.
- Rename the new HTTP Request node to JDS_Person_Query.
- On the Connector drop down select the WxCC_Read_Write.
- Set the Request Path to: /admin/v1/api/person/workspace-id/{{CJDS_ProjectID}}/aliases/search
- Set the Method to: POST
- Set the Content Type to Application/JSON
- Enter the following JSON in the request body section:
{ "identities": ["{{NewPhoneContact.ANI}}"] } - Now edit the Parse Setting and set the following:
- Content Type to JSON
- Output Variable = firstName
- Path Expression = $.data[0].firstName
- Click Add New to include another output variable and set the following:
- Output Variable = lastName
- Path Expression = $.data[0].lastName
- Enable the decryption toggle in this node.
- Add a menu node from the left node pallet to the canvas and move it below the JDS_Person_Query node you just added in the previous step.
- Connect the exit of the JDS_Person_Query node to the entry of this new node.
- Turn on the "Enable Text-to-Speech" toggle, from the "Connector" drop down select "Cisco Cloud text to speech", and click the option "Add Text-to-Speech message".
- Delete the Audio File that is included by default.
- Inside the "Text-to-Speech Message" box, enter the following:
Welcome back {{firstName}} {{lastName}}. Press 1 to connect to our virtual agent. Press 2 to talk to a human agent. - Modify the menu links to match the options from the text-to-speech message. Add the digit number 1 and 2, include a description for each digit.
- Connect the output connection on digit 2 to the QueueContact node.
- Insert a new HTTP Request node AFTER the Menu node. Make sure to connect the option 1 menu output to the incoming connection on this new node. This new node will be used to post a new event to the JDS service.
- Rename the new HTTP Request node to JDS_Event_Post.
- On the Connector drop down select the WxCC_Read_Write.
- Set the Request Path to: /publish/v1/api/event?workspaceId={{CJDS_ProjectID}}
- Set the Method to: POST
- Set the Content Type to Application/JSON
- Enter the following JSON in the request body section:
{ "id": "{{NewPhoneContact.InteractionId}}", "specversion": "1.0", "type": "task:new", "source": "IVR", "identity": "{{NewPhoneContact.ANI}}", "identitytype": "phone", "datacontenttype": "application/json", "data": { "taskId": "{{NewPhoneContact.InteractionId}}", "firstName": "{{firstName}}", "lastName": "{{lastName}}", "phone": "{{NewPhoneContact.ANI}}", "channelType": "IVR", "uiData": { "title": "AI Agent Connect", "iconType": "icon-headset_16", "subTitle": "Self Service", "filterTags": ["AI Agent"] } } } - Enable the decryption toggle in this node.
- Connect the output of this HTTP Request node to the entry point of the VirtualAgent V2 node.
- Click the VAV2 Node and configure the following:
- Contact Center AI Config: Webex AI Agent (Autonomous)
- Virtual Agent: JDS_Placeholder
JDS Placeholder AI Agent
You will create your own AI Agent in the next lab, this placeholder AI agent allows you to publish the flow and assign it to a channel to test that the CJDS query and post worked fine.
- Click the QueueContact node and select the queue matching your POD number.
- Save and validate the flow, if there are no errors, proceed with publishing the flow.
- Go back to Control Hub and navigate to the Channels configuration. Find the channel matching your POD number and open it. Assign your new flow to the "Routing Flow" setting. Save changes.
Testing 
Instructions
- Find the PSTN phone number in your POD channel.
- Call using the phone number you entered in the API collection. You should hear a welcome message with the name you entered in the postman variable in lab 2.
- Select the option 1 to connect to the virtual agent and when you hear it, disconnect the call.
- In Bruno, click on the “Get History Stream by identity” call and replace the identity with the phone number you used to call. Send the request and you should see a new AI Agent event in the JDS tape!
Congratulations! You have completed LAB 3.